Tag: budget friendly

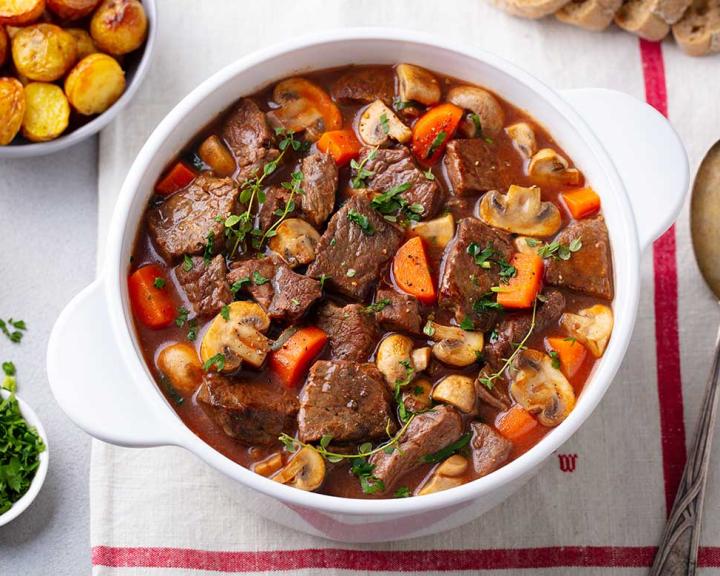
  • Slow-Cooker Beef Stew

    Slow-Cooker Beef Stew

    How to Make Slow-Cooker Beef Stew

    Searing beef on the stovetop adds a few minutes to your slow cooker routine, but it’s well-worth the payoff in flavor. Serve this stew with a side of steamed green beans for a balanced weeknight meal that makes your kitchen smell inviting all day long.


    20 min prep time


    8 hr cook time


    5servings


    1 cup

    Print Recipe >

    Step-By-Step Instructions:

    1. Place the flour in a large resealable plastic bag. Add beef and toss to coat.

    2. Add oil to a pan over high heat. Add beef and sauté for 6-8 minutes, turning frequently until evenly browned.

    3. Transfer beef and all remaining ingredients to a large slow cooker.

    4. Cover and cook in slow cooker on low for 8 hours.

    pinterestfacebooktwittermail

    Nutrition facts

    5 Servings


    • Serving Size

      1 cup


    • Amount per serving


      Calories


      280

    • % Daily value*

    • Total Fat
      7g

      9%

      • Saturated Fat
        2g

        10%
      • Trans Fats
        0g

    • Cholesterol
      60mg

      20%

    • Sodium
      400mg

      17%

    • Total Carbohydrate
      32g

      12%

      • Dietary Fiber
        6g

        21%
      • Total Sugars
        9g

    • Protein
      26g

    • Potassium
      1037mg

      22%

    Ingredients

    flour
    3 tbsp

    beef stew meat ( visible fat trimmed and cut into 1-inch cubes)
    1 lbs

    olive oil
    1 tbsp

    low sodium beef broth
    3 cup

    water
    1 cup

    carrots (chopped)
    6 large

    white (button) mushrooms (chopped)
    8 oz

    sweet potatoes (peeled and cubed)
    1 large

    onion(s) (diced)
    1 med

    dried thyme
    1/2 tsp

    black pepper
    1/2 tsp

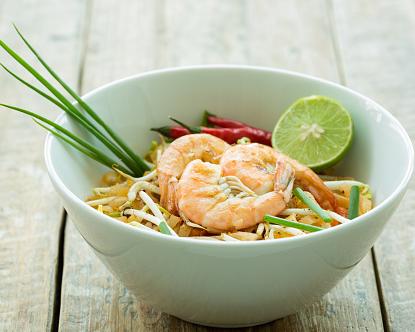
  • Pad Thai Spaghetti Squash

    Pad Thai Spaghetti Squash

    How to Make Pad Thai Spaghetti Squash

    Spaghetti squash is a low-carb alternative to the traditional rice noodles in Pad Thai. One cup of cooked spaghetti squash contains just 10 grams of total carbohydrate, compared to 42 grams for the rice noodles!


    15 min prep time


    12 min cook time


    4servings


    1 cup

    Print Recipe >

    Step-By-Step Instructions:

    1. Cut spaghetti squash in half lengthwise and remove seeds. Place squash in a microwave-safe baking dish, cut side down. Cover loosely with a lid and leave room to vent. Microwave for 10-15 minutes, rotating every 5 minutes. Squash is done when it’s soft to touch. Set aside.
    2. Heat olive oil in a large sauté pan over medium-high heat. Add scallions, carrots, zucchini and mushrooms and sauté for 5-7 minutes. Add garlic and sauté for 30 seconds. Add ginger and Pad Thai sauce and heat for 2 minutes. Mix well.
    3. Use a fork to scoop out spaghetti squash. Add the spaghetti squash “noodles” and shrimp to the pan with vegetables. Heat for another 2 minutes and mix well. Top with chopped cilantro.
    pinterestfacebooktwittermail

    Nutrition facts

    4 Servings


    • Serving Size

      1 cup


    • Amount per serving


      Calories


      170

    • % Daily value*

    • Total Fat
      4.5g

      6%

      • Saturated Fat
        0.7g

        4%

    • Cholesterol
      105mg

      35%

    • Sodium
      230mg

      10%

    • Total Carbohydrate
      19g

      7%

      • Dietary Fiber
        4g

        14%
      • Total Sugars
        10g

    • Protein
      16g

    • Potassium
      630mg

      13%

    Ingredients

    medium spaghetti squash (2.5 lbs)
    1

    olive oil
    1 tbsp

    green onion (scallion) (chopped)
    1/2 cup

    carrot(s) (finely diced)
    2

    zucchini (finely diced)
    1

    white (button) mushrooms (chopped)
    1/2 cup

    garlic (minced)
    1 clove

    ground ginger
    1/2 tsp

    Pad Thai sauce (prepared )
    2 tbsp

    shrimp (cooked, peeled and tail-off)
    8 oz

    cilantro (chopped)
    1/4 cup

  • Grilled Shrimp Tacos

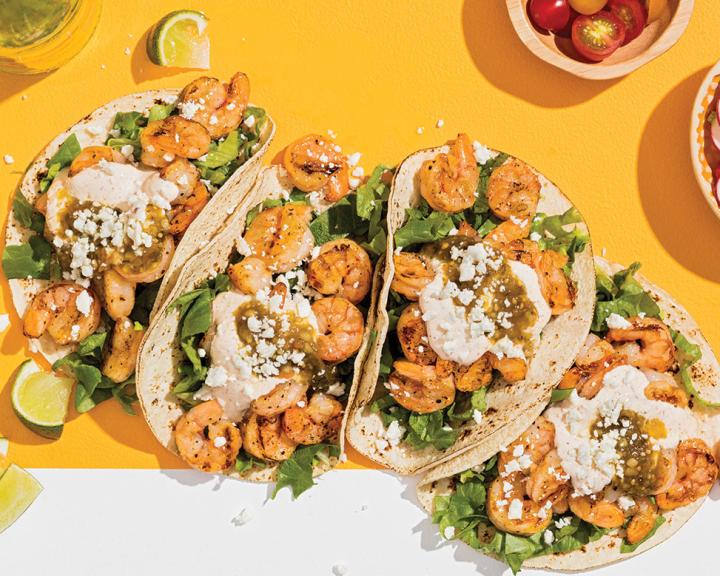
    Grilled Shrimp Tacos

    How to Make Grilled Shrimp Tacos

    Here’s a light and tasty summer taco recipe that’s great for a family dinner or the next time you have guests. These tacos are delicious as is, or with different toppings. Try pico de gallo, halved cherry tomatoes, sliced radishes, onion, shredded cabbage, or even half of a grilled peach.


    15 min prep time


    8 min cook time


    4servings


    1 taco

    Print Recipe >

    Step-By-Step Instructions:

    1. Preheat an indoor or outdoor grill.
    2. In a small bowl, whisk together the yogurt, mayonnaise, and chili powder. Cover and keep in the refrigerator until needed.
    3. Skewer 3 ounces of shrimp on each skewer.
    4. In a small bowl, whisk together olive oil, garlic, lime juice, salt (optional) and pepper. Brush the shrimp with the marinade and grill for 3-4 minutes on each side until the shrimp are pink and just firm. Continue to brush with the marinade while grilling, using all of the marinade.
    5. Heat the corn tortillas briefly on the grill. Remove the shrimp from one skewer and place in a tortilla. Top the shrimp with 1/4 cup shredded lettuce, a heaping tablespoon of the reserved yogurt sauce, and 2 tablespoons of salsa verde, and about 2 teaspoons cheese. Repeat for the remaining three tacos.
    pinterestfacebooktwittermail

    Nutrition facts

    4 Servings


    • Serving Size

      1 taco


    • Amount per serving


      Calories


      220

    • % Daily value*

    • Total Fat
      8g

      10%

      • Saturated Fat
        1.6g

        8%

    • Cholesterol
      150mg

      50%

    • Sodium
      390mg

      17%

    • Total Carbohydrate
      17g

      6%

      • Dietary Fiber
        2g

        7%
      • Total Sugars
        2g
      • Added Sugars
        0g

        0%

    • Protein
      23g

    • Potassium
      380mg

      8%

    Ingredients

    Greek yogurt (plain, non-fat)
    1/4 cup

    light mayonnaise
    2 tbsp

    chili powder
    1/2 tsp

    shrimp (peeled and deveined)
    12 oz

    long bamboo skewers (soaked in warm water)
    4

    olive oil
    1 tbsp

    garlic (minced or grated)
    2 clove

    lime (juiced)
    1

    salt (optional)
    1/2 tsp

    black pepper (ground )
    1/4 tsp

    corn tortillas (6-inch)
    4

    lettuce (shredded)
    1 cup

    salsa verde (tomatillo salsa)
    1/2 cup

    cotija or feta cheese
    2 1/2 tbsp

  • Cauliflower Fried “Rice”

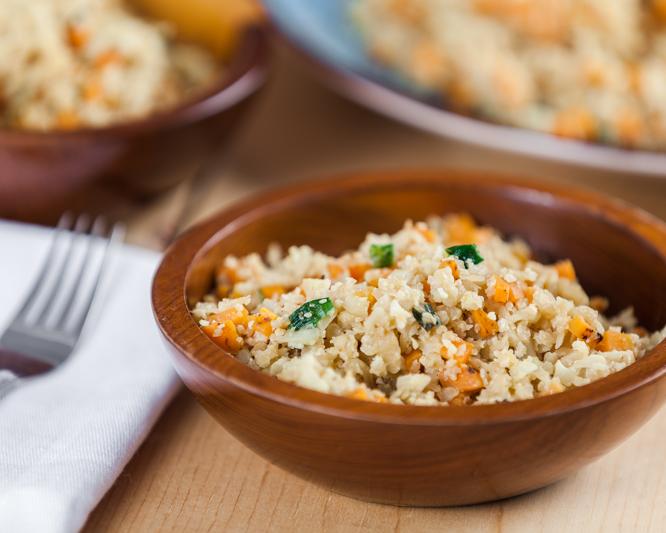
    Cauliflower Fried “Rice”

    How to Make Cauliflower Fried “Rice”

    Finely chopped cauliflower can be a remarkable nonstarchy side that’s lower in calories and carbohydrate than rice. Or make it a main dish by adding chicken breast, shrimp or tofu. To make this recipe even easier, start with packaged “riced” cauliflower that can be found fresh or frozen in many grocery stores. 


    15 min prep time


    13 min cook time


    4servings


    1/2 cup

    Print Recipe >

    Step-By-Step Instructions:

    1. Cut the cauliflower into small chunks and process in a food processor until rice consistency, or grate the head of cauliflower with a grater; set aside.
    2. Heat 1/2 Tbsp. olive oil in a nonstick pan over medium-high heat. Add carrots and scallions and sauté for 5 minutes.
    3. Add remaining 1/2 Tbsp. olive oil and sesame oil to pan. Add cauliflower “rice” and remaining ingredients and lower heat to medium-low. Cook cauliflower mixture for 6-8 minutes, stirring frequently. Cauliflower should be tender, but not mushy.
    pinterestfacebooktwittermail

    Nutrition facts

    4 Servings


    • Serving Size

      1/2 cup


    • Amount per serving


      Calories


      80

    • % Daily value*

    • Total Fat
      5g

      6%

      • Saturated Fat
        0.7g

        4%
      • Trans Fats
        0g

    • Cholesterol
      0mg

      0%

    • Sodium
      260mg

      11%

    • Total Carbohydrate
      8g

      3%

      • Dietary Fiber
        3g

        11%
      • Total Sugars
        3g

    • Protein
      3g

    • Potassium
      360mg

      8%

    Ingredients

    olive oil (divided)
    1 tbsp

    sesame oil
    1 tsp

    green onion (scallion) (chopped)
    3

    soy sauce (reduced-sodium)
    1 1/2 tbsp

    low sodium chicken broth (no-salt-added, fat-free)
    1/4 cup

    ground ginger
    1/8 tsp

    large carrots (finely diced)
    2

    cauliflower florets
    3 cup

    black pepper (ground )
    1/8 tsp

  • Braised Fennel and White Beans

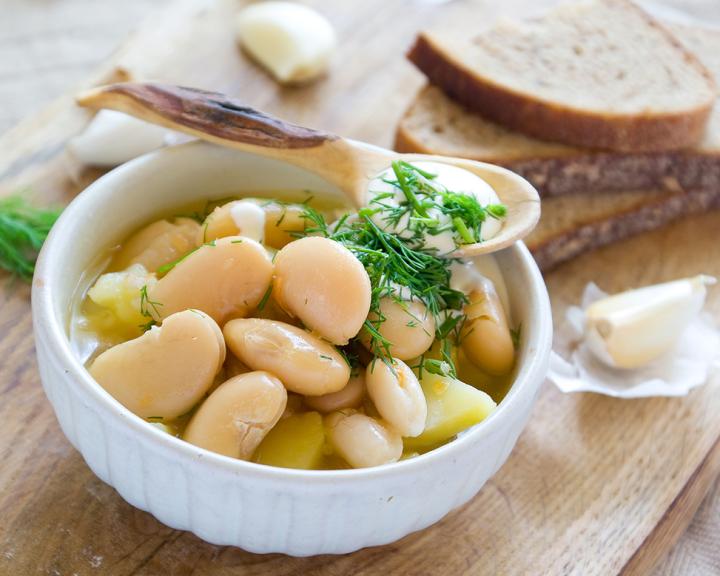
    Braised Fennel and White Beans

    How to Make Braised Fennel and White Beans

    Pair these braised beans and fennel with a side of a chicken for a complete, comforting meal.


    15 min prep time


    1 hr 10 min cook time


    4servings


    4 pieces fennel, 1/2 cup beans and sauce

    Print Recipe >

    Step-By-Step Instructions:

    1. Preheat oven to 375°F. Coat a 9×13-inch baking dish with cooking spray
    2. Arrange the fennel and onion in the bottom of the prepared baking dish.
    3. Pour the olive oil, broth and vinegar over the fennel and onion, and season with salt and pepper.
    4. Bake for 1 hour, stirring half way through.
    5. Stir in the beans and parsley and put back in the oven for 10 minutes.
    pinterestfacebooktwittermail

    Nutrition facts

    4 Servings


    • Serving Size

      4 pieces fennel, 1/2 cup beans and sauce


    • Amount per serving


      Calories


      170

    • % Daily value*

    • Total Fat
      4g

      5%

      • Saturated Fat
        0.5g

        3%

    • Cholesterol
      0mg

      0%

    • Sodium
      230mg

      10%

    • Total Carbohydrate
      26g

      9%

      • Dietary Fiber
        8g

        29%
      • Total Sugars
        4g

    • Protein
      8g

    • Potassium
      850mg

      18%

    Ingredients

    Nonstick cooking spray
    1

    medium fennel bulbs ((11 ounces each) stems and fronds removed, cut into eighths)
    2

    medium yellow onion (thinly sliced)
    1

    olive oil
    1 tbsp

    low sodium chicken broth (fat-free, low-sodium)
    1 cup

    salt
    1/8 tsp

    black pepper
    1/4 tsp

    red wine vinegar
    2 tbsp

    cannellini beans (15.5 ounce, drained and rinsed)
    1 can

    parsley (chopped)
    1/4 cup

  • Asian Tofu Stir-Fry

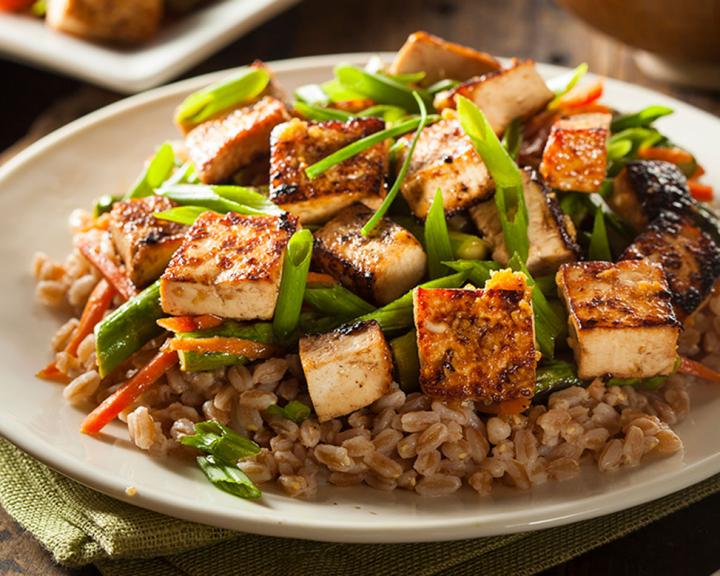
    Asian Tofu Stir-Fry

    How to Make Asian Tofu Stir-Fry

    This tried-and-true stir-fry keeps things simple—and fast—with just six ingredients, but plenty of vegetables, lean protein and whole grains. Like many meals with tofu, it’s budget-friendly to boot! Get experimental with your vegetables! Carrots, broccoli, and snow peas are a classic combo, but you any variety of vegetables that you have on hand, like mushrooms, celery, bell pepper, zucchini, eggplant, onions, cabbage, asparagus, and more!


    5 min prep time


    15 min cook time


    4servings


    1 1/2 cups

    Print Recipe >

    Step-By-Step Instructions:

    1. In a large nonstick skillet or wok, heat 2 Tsp. olive oil over medium-high heat. Add tofu and sauté until golden brown on all sides. Add 1 Tbsp. soy sauce and sauté for 1 more minute. Remove from pan.
    2. Add remaining 2 Tsp. olive oil to skillet and heat. Add vegetables and remaining 1 Tbsp. soy sauce to skillet and sauté for 4 minutes.
    3. Add chicken broth to pan and bring to a simmer. Cook for 5 minutes.
    4. Serve over brown rice.
    pinterestfacebooktwittermail

    Nutrition facts

    4 Servings


    • Serving Size

      1 1/2 cups


    • Amount per serving


      Calories


      280

    • % Daily value*

    • Total Fat
      9g

      12%

      • Saturated Fat
        1.6g

        8%

    • Cholesterol
      0mg

      0%

    • Sodium
      380mg

      17%

    • Total Carbohydrate
      37g

      13%

      • Dietary Fiber
        7g

        25%
      • Total Sugars
        7g

    • Protein
      15g

    • Potassium
      710mg

      15%

    Ingredients

    olive oil (divided)
    4 tsp

    firm tofu (drained and cut into 1-inch cubes)
    12 oz

    lower sodium soy sauce (divided use)
    2 tbsp

    fresh or frozen mixed vegetables (such as carrots, broccoli and snow peas)
    24 oz

    chicken or vegetable broth (fat-free, low-sodium)
    1 cup

    cooked brown rice
    2 cup

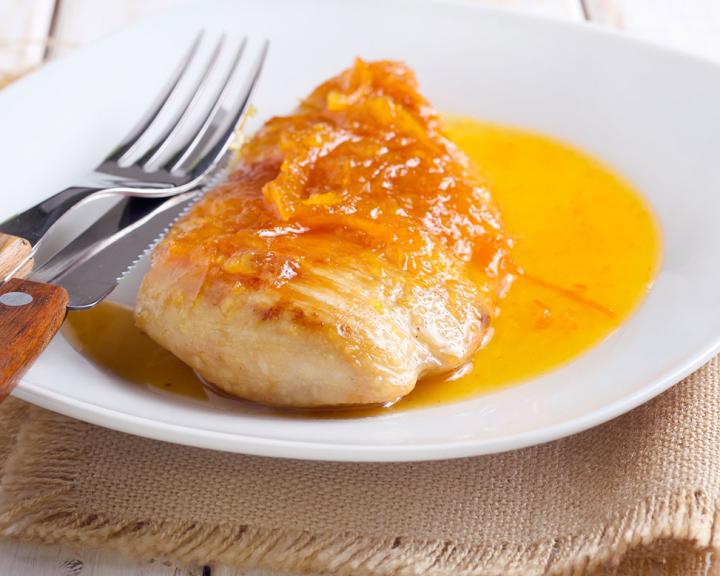
  • Apricot Glazed Chicken

    Apricot Glazed Chicken

    How to Make Apricot Glazed Chicken

    Here’s a new way to enjoy fresh apricots for dinner this spring! Serve this chicken with a whole grain of your choice and an arugula side salad for a complete seasonal meal.


    15 min prep time


    30 min cook time


    4servings


    1 chicken breast

    Print Recipe >

    Step-By-Step Instructions:

    1. Preheat oven to 350°F. In a large skillet, heat 2 Tsp. oil over medium heat. Add the apricots, cut side down, and cook until lightly browned, about 3 minutes. Turn the apricots and cook for 1 minute longer. Set aside.
    2. In a small saucepan add the apricot preserves, balsamic vinegar and pepper and bring to a low boil; simmer 3 minutes or until mixture has a glaze-like consistency. Add apricots to the mixture.
    3. Coat a baking dish with cooking spray. Place chicken breasts in dish. Brush each breast with 1 tbsp of apricot glaze and bake 30 minutes. Pour remaining glaze over chicken and serve.
    pinterestfacebooktwittermail

    Nutrition facts

    4 Servings


    • Serving Size

      1 chicken breast


    • Amount per serving


      Calories


      200

    • % Daily value*

    • Total Fat
      5g

      6%

      • Saturated Fat
        1.1g

        6%

    • Cholesterol
      65mg

      22%

    • Sodium
      60mg

      3%

    • Total Carbohydrate
      11g

      4%

      • Dietary Fiber
        5g

        18%
      • Total Sugars
        6g

    • Protein
      24g

    • Potassium
      330mg

      7%

    Ingredients

    balsamic vinegar
    1/4 cup

    black pepper (ground )
    1/4 tsp

    Nonstick cooking spray
    1

    olive oil
    2 tsp

    no-sugar-added apricot preserves (sugar-free)
    1/2 cup

    apricots (fresh, pitted and cut into quarters)
    4

    boneless, skinless chicken breasts (cut into 4 oz portions)
    1 lbs

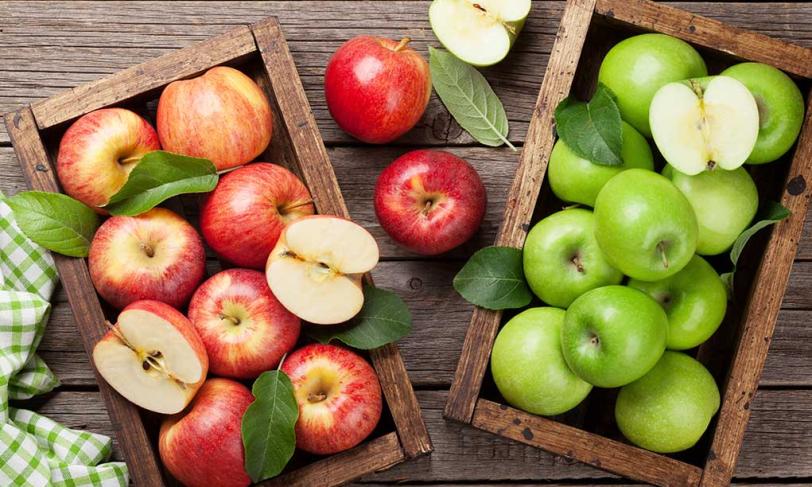
  • 16 Sweet and Savory Apple Recipes for Fall

    16 Sweet and Savory Apple Recipes for Fall

    Pumpkin spice usually takes the spotlight when the weather starts to cool, but fall also ushers in apple season! You’ll find tons of varieties in the store right now, and maybe you’ll even have the chance to go apple picking. We’ve collected our favorite fall apple recipes for any time of day (not just dessert!) to take advantage of an abundance of seasonal apples.

    Entrees

    1. Pecan-Crusted Pork Tenderloin with Apple and Onions

    Sweet apples, savory onions, and crunchy pecans create a tasty entrée that is sure to please! And, everything comes together quickly making this a perfect weeknight meal.

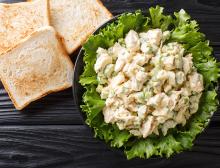
    2. Creamy Chicken Apple Salad

    Diced apples add sweetness and crunch to this lighter chicken salad. The trick to keeping chicken salad light is to replace half or more of the mayonnaise with plain yogurt! 

    3. Spiced Turkey Breast with Apple Chutney

    A dry rub of citrus and warm spices gives this roasted turkey irresistible fall flavors, perfect for your Thanksgiving table! A simple apple chutney adds a touch of sweetness that perfectly complements the spice turkey.

    4. Power Lunch Salad

    This is a great example of how a salad can be a meal on its own—it’s packed with protein, vegetables, and healthy fat. Great for meal prepping or a simple work-from-home lunch. 

    Side Dishes

    5. Braised Cabbage with Apples

    This budget-friendly side dish pairs seasonal apples with red cabbage. Serve alongside a simple meat entrée like these Apple Mustard Pork Chops.  

    6. Apple Walnut Salad

    This light and fresh salad is packed full of fall flavors. It would make a great addition to a Thanksgiving table to add more fresh vegetables to the meal. 

    7. Kale Apple Slaw

    You can switch up the vegetables in this slaw by using chopped spinach, green cabbage, and shredded carrots. Pair with Easy Beef Chili for a cozy meal on a cool fall evening.

    8. Apple, Beet, and Carrot Slaw with Blood Orange Vinaigrette

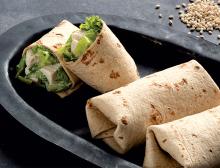
    This kid-friendly side dish has a lovely sweet, citrus flavor, but it’s also packed with vegetables. Pair with these Chicken Caesar Salad Wraps for a simple lunch.

    Breakfast

    9. Apple Walnut French Toast

    Baking French toast is healthier than pan-frying, and it makes this breakfast dish super simple. Fresh apples and walnuts add crunch, and a hint of maple syrup brings it all together.

    10. Apple Pie Yogurt Parfait

    Enjoy the flavors of the all-American dessert, apple pie, in a healthy, balanced breakfast parfait. These are great for meal prepping, just store the granola separately so it stays crunchy. 

    Snacks

    11. Pumpkin Apple Protein Bars

    Freeze these bars in individual snack size bags and grab one on your way to the gym to have as a snack after a good workout! Be sure to use canned pumpkin, not pumpkin pie filling which has extra sugar added to it. 

    12. Baked Apple Chips

    These homemade apple chips need just two ingredients—apple slices and cinnamon—and no added sugar!

    13. Peanut Butter, Cranberry, and Walnut Apple Slices

    Apples and peanut butter are a perfect kid-friendly. Take it to the next level by adding chopped nuts, coconut flakes, and dried fruit! 

    Dessert

    14. Maple Apples

    Sautéing apples caramelizes their natural sugars creating a rich, sweet flavor. These apples are tossed in a low sugar syrup made from apple cider and sugar-free maple syrup for a delicious, diabetes-friendly dessert.

    15. Ronaldo’s Apple Pie

    This “apple pie” recipe from Chef Ronaldo Linares ditches the buttery crust without sacrificing any of the flavor of a classic apple pie.

    16. Mini Apple Chimichanga

    This hand-held apple fritter is easy to make. Whole wheat tortillas are filled with a sweet apple filling and baked to perfection.
  • 2-for-1 Meals: Making the most out of leftovers

    2-for-1 Meals: Making the most out of leftovers

    Saving leftovers is a great way to get more meals out of less cooking. But eating the same meal two or more days in a row can get boring! Shake things up by repurposing your leftovers instead of just reheating them. Try these “Double Up” recipes—make extra one night, and repurpose it in a whole new dish later in the week.

    Smoky Chicken Dinner + Hearty Chicken Salad

    Image
    DFH-diabetic-double-up-recipes-smoky-chicken.jpg

    Double the chicken in this recipe for Smoky Pan Roasted Chicken with Potatoes and Beans. Use the leftover chicken for this hearty Smoky Chicken and Three Bean Salad recipe for a quick lunch or dinner later in the week.

    Coffee-Rubbed Steak Dinner + Beef Fajitas

    Image
    DFH-diabetic-double-up-recipes-coffee-rubbed-steak.jpg

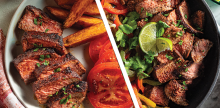
    Prepare a double batch of Coffee-Rubbed Steak. While the steak is resting, sauté a side of vegetables like bell pepper, squash, or green beans for dinner one night. Save the leftover steak to make Beef Fajitas later in the week.

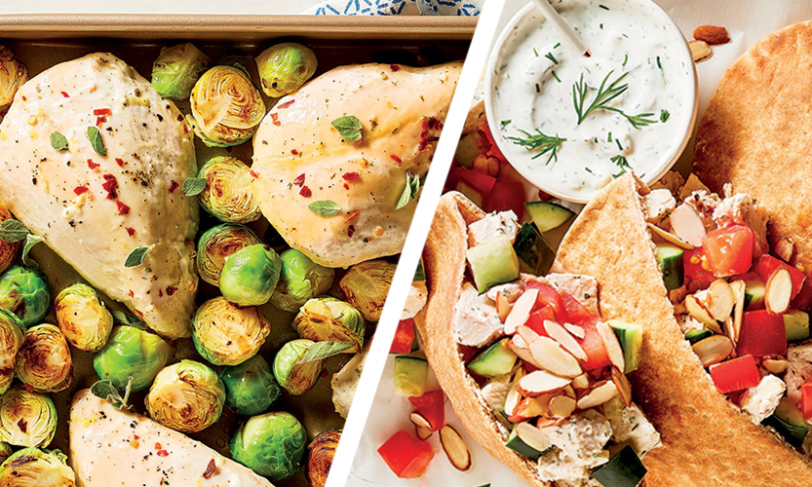
    Marinated Chicken Dinner + Stuffed Chicken Pitas

    Image
    2-for-1 Meals: Making the most out of leftovers

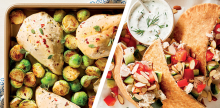
    Make a double batch of Greek-Yogurt Marinated Chicken. Bake it on a sheet pan with seasonal vegetables for dinner one night. Save the leftover chicken to make Mediterranean Chicken Pitas for lunch or dinner later in the week.

    Mediterranean Steak Dinner + Steak Sandwiches

    Image
    DFH-diabetic-double-up-recipes-mediterranean-steak.jpg

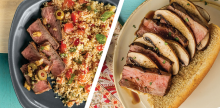
    Double the steak in this recipe for Mediterranean Steak with Minted Couscous. Use the leftover steak to make these simple Steak and Portobello Sandwiches later in the week for lunch or dinner.

    Herbed Chicken Dinner + Chicken Paninis

    Image
    DFH-diabetic-double-up-recipes-tarragon-chicken.jpg

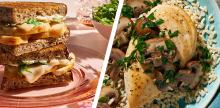
    Double the chicken in this recipe for Tarragon Herbed Chicken and Mushrooms. Use the leftover chicken to make a quick and easy Chicken Panini for lunch the next day.
     

  • How to Cook a Chicken

    How to Cook a Chicken

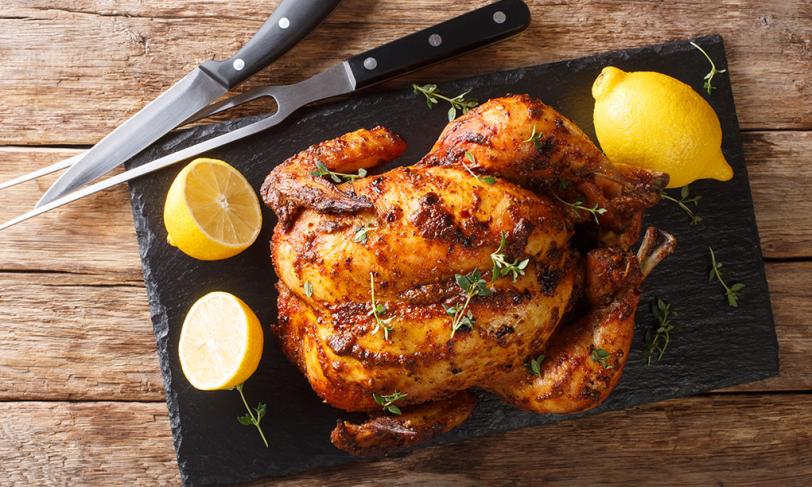
    Chicken is one of the most budget-friendly and diabetes-friendly meats available. It’s also easy to prepare and tasty, too! Having cooked chicken on hand makes preparing protein-packed meals a cinch. Precooked rotisserie chickens are widely available, but the sodium content is usually very high. Cooking a whole chicken at home is easier than you think, and lets you control the ingredients. Read on to learn our simple method for Roasting a whole chicken, plus 5 recipes that you can make with your leftover cooked chicken.

    You can buy whole chickens at the store fresh or frozen. They are usually about 3-5 pounds in size. If you purchase a frozen chicken, be sure to thaw it before roasting.

    The safest way to thaw a whole chicken is in the refrigerator. Plan ahead! Thawing a whole chicken usually takes at least 24 hours. 

    Directions

    1. Preheat oven to 450 degrees. Coat a 9×13 baking dish with cooking spray.
    2. Remove giblet and neck from chicken cavity. You can discard these, or save them for making chicken broth. Pat the skin dry with a paper towel.
    3. Place chicken breast-side up into the pan and lightly spray the skin with cooking spray.
    4. Bake in oven for 20 minutes. After 20 minutes reduce heat to 350 degrees and bake chicken additional 45 minutes or until the internal temperature of the thigh meat is 165 degrees F.
    5. Remove the chicken from the oven, cover it with foil, and let it rest for 20 minutes.
    6. Once the chicken has rested, remove and discard the skin and carve or pull all of the meat from the bones.
    7. Store the meat in an airtight container in the refrigerator for up to 1 week or pack in freezer bags or containers and store in the freezer up to 3 months.

    Safety First!

    Consuming raw or undercooked meats, poultry, seafood, shellfish, or eggs may increase your risk of foodborne illness. To make sure that the chicken is fully cooked through, you’ll want to use a meat thermometer to check the internal temperature of the thigh (the breast meat cooks faster than the thigh meat, so you’ll want to make sure that the thigh is cooked though).

    To check the temperature, insert the thermometer into the thickest part of the thigh, making sure not to touch the bone.  and you want to ensure the whole chicken is cooked to 165 degrees (safe temperature of doneness for chicken) before serving.

    Making Chicken Broth

    Don’t throw away the carcass! You can use the carcass (and giblets and neck) to make your own chicken broth. Simply throw all of the bones and scraps into a large pot with some roughly chopped vegetables or vegetable scraps and enough water to cover everything by 1-2 inches, then simmer it for at least 30 minutes (or up to several hours).

    Traditional broth is made with carrots, onion, and celery, but you could also add garlic, peppers, leeks, dried or fresh herbs, and spices like black peppercorns. For even more flavor, roast the vegetables for your broth alongside the chicken.

    Recipes

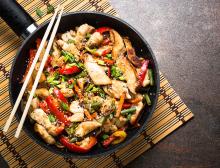
    Simple Chicken Stir Fry

    Image
    1928-chicken-stir-fry-diabetic-simple-pantry_AS_175212927_031920.jpg

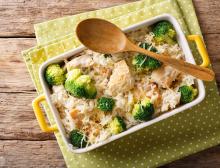
    Easy Chicken and Vegetable Casserole

    Image
    1956-diabetic-chicken-rice-vegetable-casserole_Clean-and-simple_AdobeStock179950044_050120(1).jpg

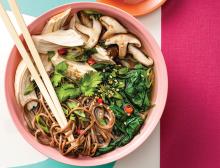
    Ramen-Style Ginger Chicken Noodle Soup

    Image
    1856-diabetic-ramen-ginger-chicken-noodle-soup_clean-and-simple_DFJanFeb20_120219.jpg

    Chicken Caesar Salad Lunch Wrap

    Image
    160-diabetic-chicken-caesar-salad-lunch-wraps_Diabetes-Cookbook_DF_101818_1021x779.jpg

    Easy Chicken Salad Toast

    Image
    1936-diabetic-easy-chicken-salad_DCME-ckbk_AdobeStock294999461_032520(1).jpg

    Browse more leftover chicken recipes here